



Destructoid published a full location guide on October 18, 2026, mapping all 24 Brave Heart Fragments hidden in Castlevania: Belmont’s Curse. Author Franklin Bellone Borges reported that hunters find three fragments in each of the first eight areas, giving Rose 24 health pickups before she challenges Dracula in his castle. Reaching most upgrades demands movement skills like double jumps or the Smash skill. As Franklin Bellone Borges said in his guide, “boosting your HP is just as necessary when facing off against the Dark Lord” to withstand intense late-game boss attacks. That health boost gives Rose a fighting chance against late-game bosses who hit hard enough to wipe out unprepared hunters in seconds [1].
Early Brave Heart Fragments in Paris
The first three Brave Heart Fragments wait in the Paris Streets district. Hunters grab the first fragment in the Undercity, but the next two hide behind tricky jumping routes. The second fragment sits at the far end of a platform challenge in the Prison Tower area, right of the Burned District, while the third waits in the Hall of Justice. Both of these tower pickups demand double jumps that aren’t available when Rose first enters the city [1].
Holy Innocents’ Cemetery reveals three more upgrades and several key relics that expand Rose’s inventory during her journey through the capital. The first cemetery fragment sits in the Ancient Sewers, reached by using the Smash skill to break open a path on Sepulcher of the Knight. Rose finds the second fragment in the Ossuary of the Innocents, while the third waits past a platform test inside the Mausoleum of the Kings. Destructoid’s companion relic walkthrough said that the cemetery also conceals the Abyssal Eye near the entrance cloister, the Pale Thorn in the Hot Springs via an Aerial Rush sliding path, and the Raven’s Feather in the mass grave [2].
Locked doors and high ledges constantly force backtracking. Hunters can’t clear every district on their first pass through Paris, prompting Franklin Bellone Borges to advise players to “keep your whip ready” as they explore [2]. That advice fits everyone who joined when Castlevania: Belmont’s Curse revived 2D vampire hunting in Paris with brutal early combat. Rose needs both health and agility to survive [1].
Catacombs and Main Hall Routes
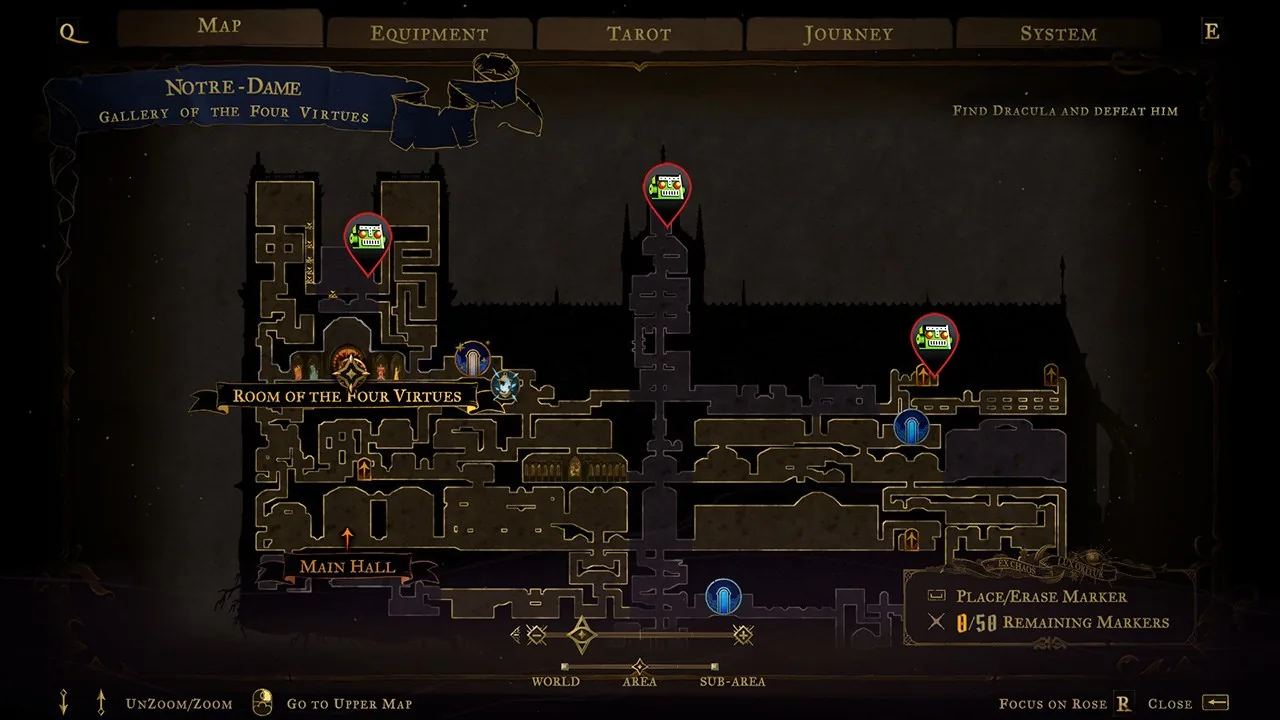
Hunting for Brave Heart Fragments leads deep into the Catacombs of Paris beneath ancient stone tunnels. Rose uncovers the first fragment after completing a platforming section right at the Catacomb Entrance. Further down, the second fragment floats above the dangerous Blood Pits, where she must ride a light halo positioned beneath the item to reach safety. The final catacomb fragment waits inside the Circle of Greed, located past the grim Gate of Flesh. Surviving these dark corridors demands careful movement because falling onto spikes sends Rose straight back to her last checkpoint [1].
The Circle of Greed holds more than just a health upgrade. In its lowest room, Rose finds the Oozing Eye after clearing all monsters. Carrying all three eyes unlocks the Gate of Flesh to challenge Mammon, once the player pairs this relic with the Thrilling Eye from the Paris hospital and the Trembling Eye from Pillaged Tomb [2]. That boss battle tests every combat skill.
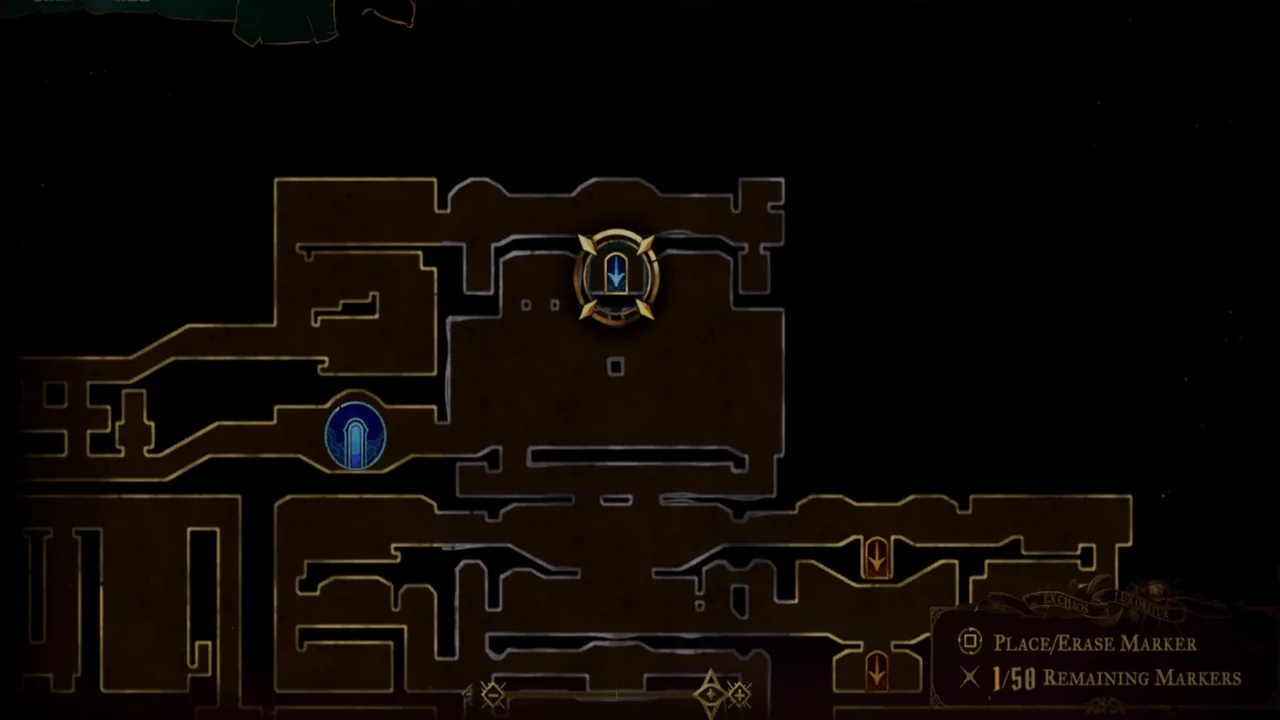
Rose ascends from the underground into the grand Main Hall, where Dracula’s castle presents new traversal puzzles. She collects two fragments in the main castle hub: one rests by the western border of the Hall of Mirrors, while the Balcony conceals another past the Torture Chambers. The zone’s third upgrade sits in the Armory behind a narrow sliding crack [1]. High above the library entrance stands Alucard’s Tower, where Arka Sarkar reported that hunters can trigger switches and strike five blue flames with an Arcane whip to claim Alucard’s Sword and Shield. That weapon set ranks among the strongest tools in the game [3].

Clock Tower Puzzles in the Library
The grand Library tests puzzle solving and jumping precision. Rose discovers the first Library fragment in a hidden room atop the Planetarium by solving diagram puzzles below. The remaining two fragments wait in the Library Foyer and among the tall Poetry Shelves, each tucked away behind its own demanding platforming section [1]. It’s an engaging zone that rewards careful observation.
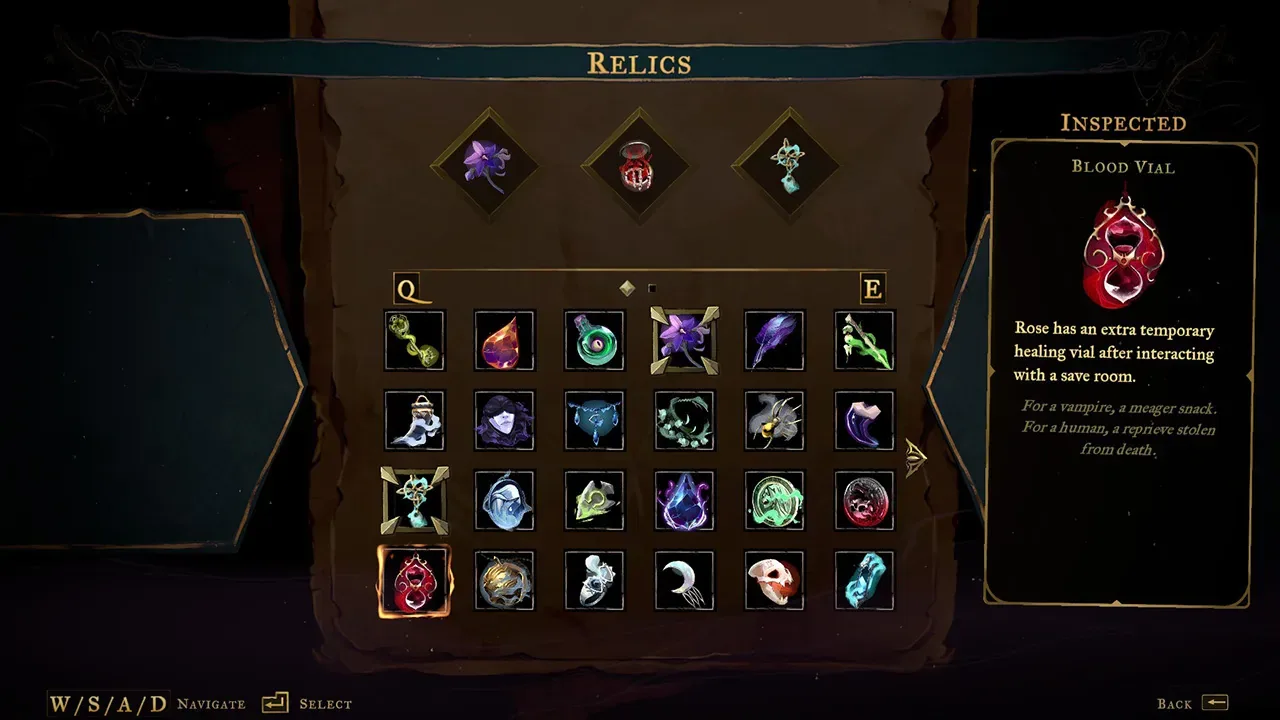
The Library also hides valuable relics for hunters who search each book room. Rose picks up the Lich’s Mark on the western side of the Rhetoric Shelves, while the Midnight Tear sits to the north past diagram light puzzles. The Wraith’s Tear in the Study Room attic needs double jumps, and the Revenant’s Shard inside the Curiosity Chamber needs the Smash skill to clear its gate. These items grant steady stat boosts that help Rose endure brutal hits from elite castle guards [2].
Above the Library, the Clock Tower raises platforming difficulty with turning gears and swinging hazards. Two fragments wait near the top of Serpent Pinion, with one tucked into Eastern Steps. The third fragment is located past a tough platforming section in the westernmost portion of The Gauntlet, reached via an elevator at Deadalus Crossing or dropping from Master’s Quarters [1]. Rose also dodges iron fist traps on Path Of The Builder for the Moonlit Shard [2].
Final Brave Heart Fragments in the Castle
The cathedral of Notre-Dame houses three more Brave Heart Fragments high among gothic spires. At the peak of La Flèche, a timed climbing route leads to the first fragment. Rose finds the second fragment on the right side of the Three of Saints through the Small Tower, and she collects the area’s final piece in The Forest directly above its Mirror of Life, where one mistimed jump sends hunters tumbling into earlier chambers. These cathedral rooftops leave zero room for error [1].
Rare cathedral relics reward hunters who defeat major bosses. Defeating Death unlocks the double jump that lets Rose reach the Soul Fragment high in the Nave, while the Chapel of Pestilence yields Beelzebub’s Seal once hunters cleanse corrupt organ pipes with the Melody Sheet For The Fugue of Notre-Dame. Musical clues serve as physical keys in these holy halls [2].
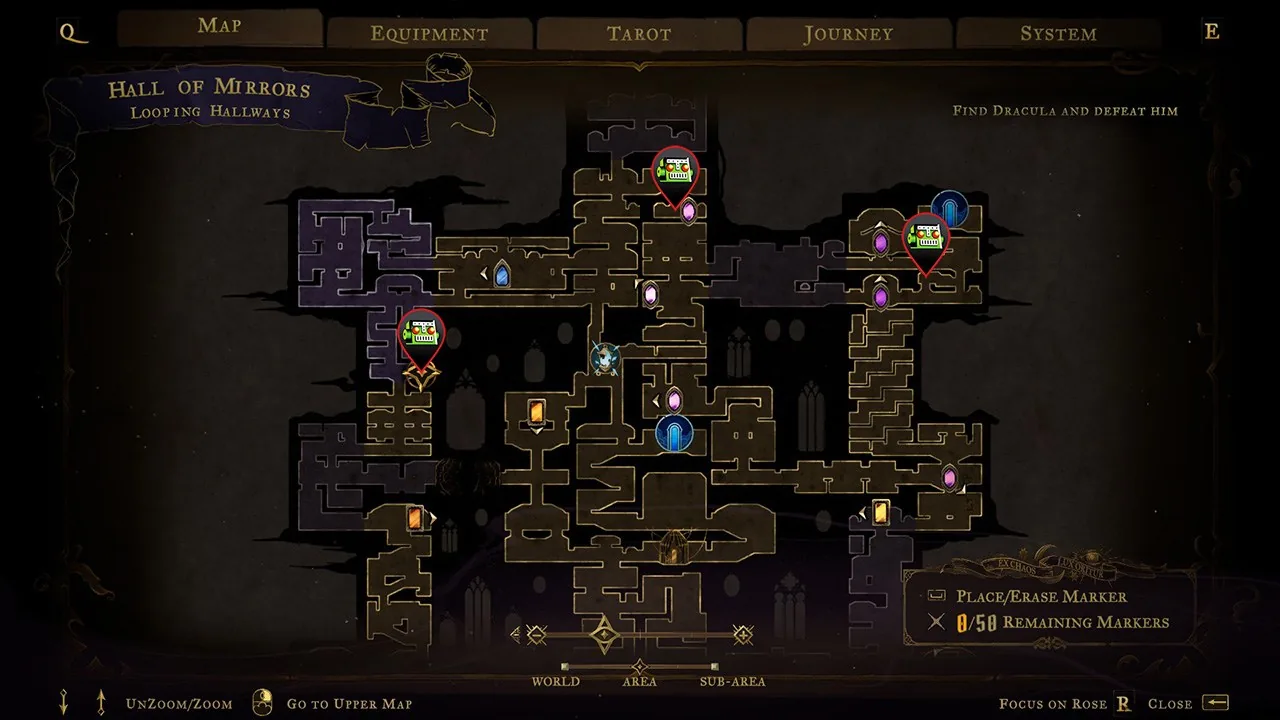
The final trio of fragments in Dracula’s Castle waits inside the eerie Hall of Mirrors. Rose encounters the twenty-second fragment past a hazardous saw platform section in Nightmare Atrium, followed by the twenty-third at the lowest portion of the Looping Hallways. The twenty-fourth and final fragment sits atop the Steps of Misdirection at the end of a long jumping sequence. That platform trial echoes the challenges players saw when the Castlevania: Belmont’s Curse demo launched two weeks early [1].
Master’s Quarters Endgame Upgrades
The Master’s Quarters holds zero health fragments. Destructoid confirmed this is the only area without a health pickup. Instead, the zone houses the Gloomstone at the top of the Sanctuary of Solitude, reached by breaking the ceiling [2]. It’s the final collectible relic.
Rose becomes much stronger when full health pairs with elite weapons. Along with her destined Vampire Killer whip, she can equip the Bernhard’s Wrath gloves found near Crystallized Blood in the Dead End Tower [2]. She can also wield Alucard’s Sword and Shield, which Arka Sarkar called “one of the best weapons available in Castlevania: Belmont’s Curse”. That legendary weapon set gives players the high damage output and guard stability needed to endure the castle’s most punishing boss phases without running out of recovery options [3].
All 24 Brave Heart Fragments give Rose maximum health before the final battle. That extra buffer helps when dodging heavy attacks from the Dark Lord. Players who methodically explore each district from Paris Streets to the Hall of Mirrors won’t regret taking time to search every hidden room and secret passage [1]. With full health and strong relics, Rose stands ready for Dracula.
- ONLINE NEWS Borges, F. B. (2026, October 18). All 24 Castlevania: Belmont’s Curse Brave Heart Fragment locations. Destructoid. [Article Link]
- ONLINE NEWS Borges, F. B. (2026, October 17). All Castlevania: Belmont’s Curse relic locations and how to get them. Destructoid. [Article Link]
- ONLINE NEWS Sarkar, A. (2026, October 17). How to get Alucard’s Sword and Shield in Castlevania: Belmont’s Curse. Destructoid. [Article Link]


