




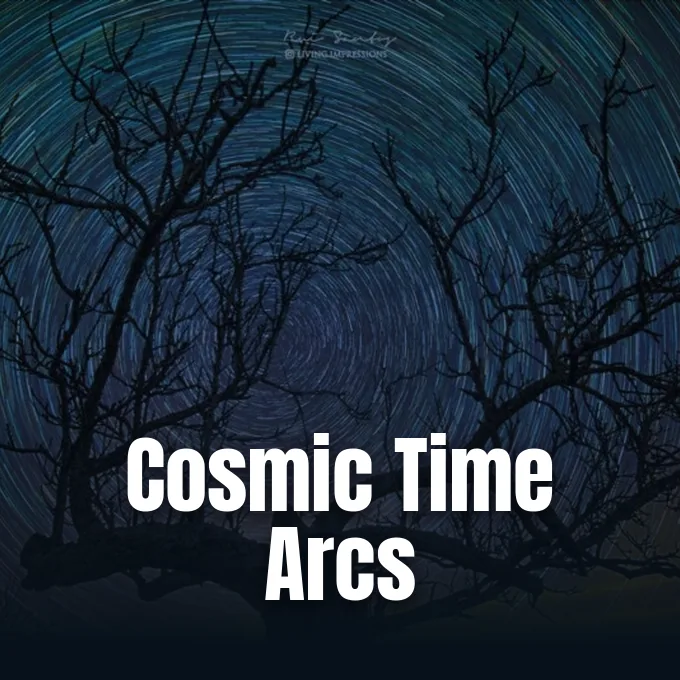
Can an open camera shutter reveal planetary motion across the night sky? Through star trails photography, long exposures transform stationary pinpoints of light into sweeping celestial arcs known formally as diurnal circles (the apparent circular paths traced by stars as Earth rotates). While casual stargazers observe an apparently static vault overhead, the planet actually completes a full rotation relative to distant stellar backdrops every 23 hours and 56 minutes. This sidereal day produces an apparent stellar shift of exactly fifteen degrees westward each hour, allowing patient photographers to map terrestrial motion directly onto digital sensors [2].
Why Are Star Trails Circular?
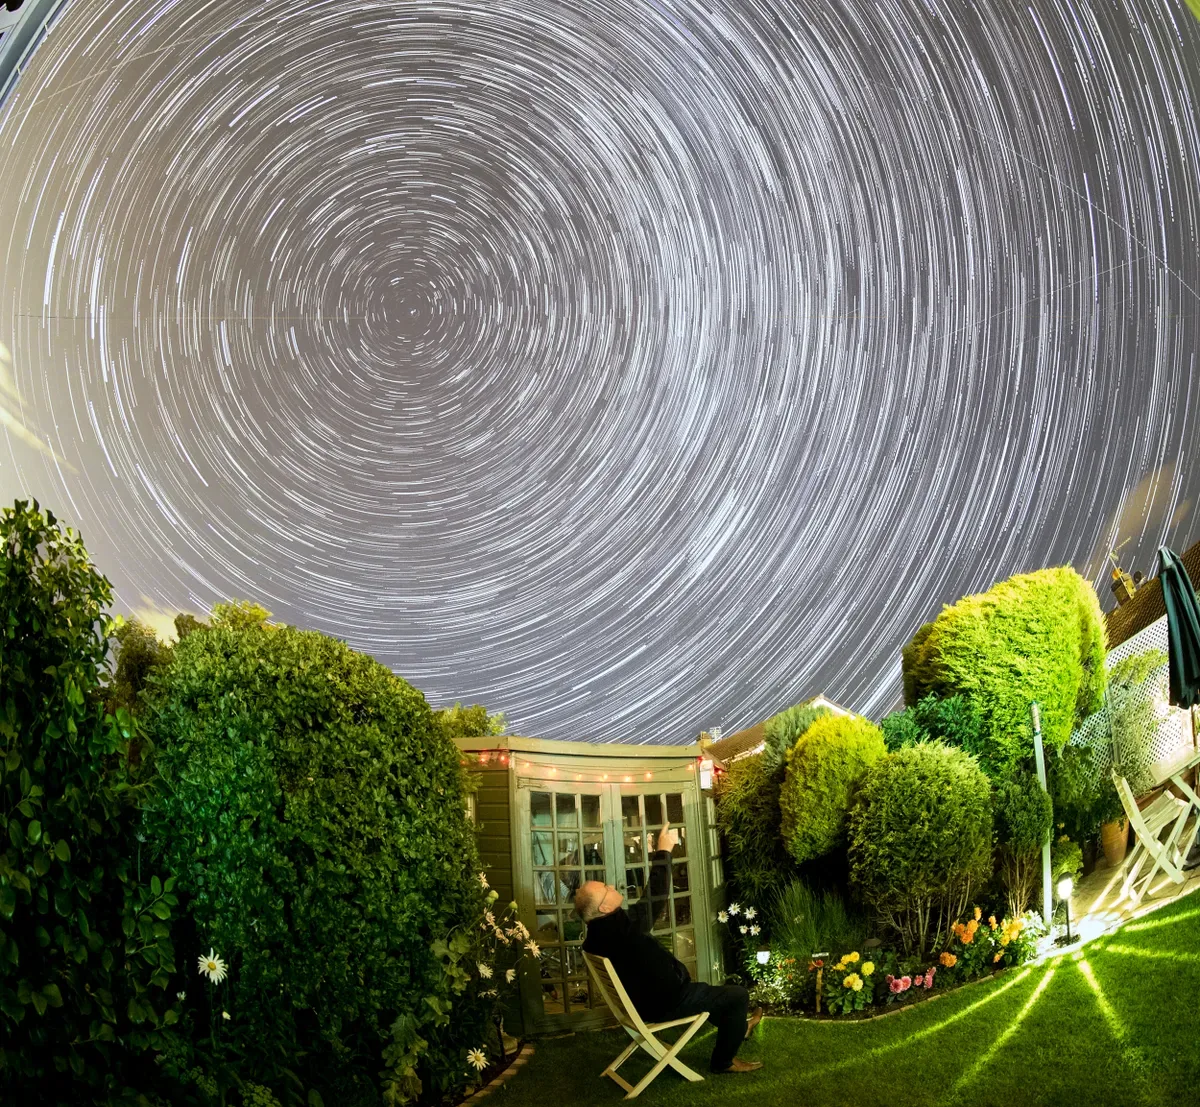
Star trails appear circular because the planet rotates continuously around an imaginary axis that extends toward fixed celestial poles in the night sky. Earth spins from west to east, which makes overhead stars appear to travel from east to west in concentric tracks centered on the rotational axes. In the Northern Hemisphere, these arcs revolve around Polaris, a star situated less than one degree away from the true north celestial pole. Polaris marks this northern pivot [2]. In the Southern Hemisphere, no single prominent beacon occupies the pole, requiring observers to align their equipment near the faint star Sigma Octantis or reference the Southern Cross to locate the rotational center [8].
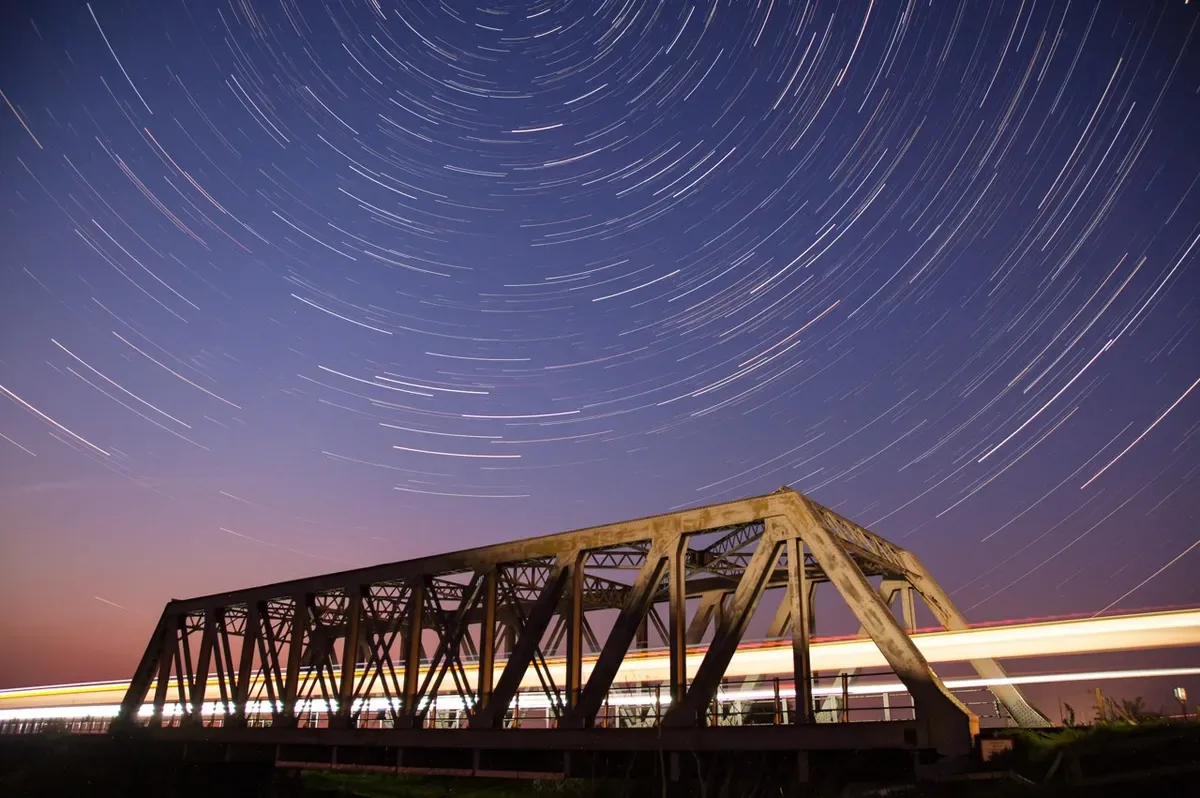
The apparent curvature of star paths shifts substantially depending on camera orientation and geographic latitude. When an optical frame points east or west rather than toward the poles, the recorded trajectories straighten into broad paths intersecting the celestial equator. Astronomers calculate the tilt of this equatorial plane using the formula 90° − L, where L represents the observer’s latitude [3]. At the terrestrial equator, celestial arcs rise vertically from the horizon and plunge straight down on the opposite side. Observers positioned near the poles instead witness stars circling parallel to the ground without setting. Earth rotates fifteen degrees hourly [2].
Northern observers identify Polaris by extending a straight line through Merak and Dubhe, the two pointer stars on the outer edge of the Plough in the constellation Ursa Major. Continuing this imaginary trajectory approximately five times the distance between those pointer stars leads directly to the pole star. Across the United Kingdom, Polaris sits at an altitude between 50° and 59° above the horizon, dictating composition choices for photographers balancing sky geometry with terrestrial architecture [8].
How to Shoot Star Trails Photography?
Executing successful star trails photography requires stabilizing a manual camera on a rigid tripod, opening the optical aperture, and taking repeated short exposures with an intervalometer. Prince Berkoh of Capture the Atlas recommends capturing between 100 and 500 consecutive frames to build continuous light streaks without risking sensor overheat. A sequence of 200 to 300 shots spanning two to four hours provides sufficient length for dramatic circumpolar rings. Field discipline matters immensely during this process [4].
Astro photographer Ken Christison describes an efficient equipment workflow that relies on manual camera controls, a sturdy tripod, and a continuous shutter release. Rather than relying solely on internal camera timers that occasionally lag between exposures, Christison attaches an external remote via a 10-pin connector to actuate continuous bursts with minimal delay. He pairs a 14-24mm lens set at 14mm with an aperture of f/2.8, an ISO setting between 400 and 800, and individual 30-second exposures. Ken Christison uses fourteen-millimeter glass. Bruce McClure notes that Christison often sets a simple 45-minute kitchen timer while the system captures frames autonomously in the darkness [2].
Environmental conditions dictate image clarity as strongly as optical hardware. Astrophotographers monitor Clear Dark Sky charts to predict atmospheric transparency and cloud cover across observation windows. While dark rural locations produce richer backgrounds, bright illumination from artificial city lights does not entirely prevent star tracking if exposures remain brief and properly metered [5]. Strong moonlight can even illuminate foreground geology, casting natural highlights across mountain ridges and historical monuments while stars revolve overhead [8].
Manual Settings for Star Trail Photos
Optimizing exposure parameters for star trail photos demands balancing photon collection against sensor noise and dynamic range. Prince Berkoh warns against using ISO 3200 or 6400, settings frequently utilized for pinpoint Milky Way photography, because high sensitivity clips stellar highlights into solid white streaks. Lowering sensitivity to ISO 800 or ISO 400 preserves subtle orange, red, and blue stellar hues while maintaining greater dynamic latitude across RAW files. Setting a manual white balance below 4000K ensures cool, uniform celestial tones without erratic automated color shifts between sequential frames [4].
The technical analysis provided by StarCircleAcademy establishes a mathematical framework for exposure calibration based on an exposure factor formula. Multiplying an exposure of 10 seconds by ISO 1200 yields an exposure factor of 12,000 at f/4. The exposure factor reaches 12,000. If an astrophotographer reduces sensitivity to ISO 400 to curb background noise, the exposure duration must triple to 30 seconds to maintain an identical light total. Further dropping sensitivity to ISO 100 requires exposing for 120 seconds, illustrating how aperture and sensitivity adjustments dictate duration [6].
Understanding the 500 Rule explains when stars transition from pinpoint lights into visible streaks. Dividing 500 by the lens focal length in 35mm equivalent terms establishes the maximum exposure before motion blur becomes noticeable. A 28mm lens mounted on a 1.6 crop factor camera yields an 11-second limit: 500 / (1.6 * 28) = 11 seconds (equivalent to approximately 45 millimeters on standard full-frame sensors) [6]. Master photographer Peter Zelinka uses a full-frame Nikon D750 with a 14mm lens, relying on a Vello Shutterboss II intervalometer, Feisol CT-3441T carbon fiber tripod, and an Acratech GP ballhead [5]. Mastering shutter actuation and understanding how cameras work during extended exposures prevents sensor heating from generating severe thermal artifacts [3].


Astronomical Site Testing and Early Observational Methods
Long before digital sensors popularized creative night photography, professional astronomers deployed star trail imagery as a rigorous scientific diagnostic tool. Astronomer Edward Skinner King first proposed using unguided photographic plates to evaluate astronomical observing conditions in his 1931 treatise A Manual of Celestial Photography. Edward Skinner proposed this in 1931. Decades later, astronomers E.A. Harlan and Merle F. Walker built dedicated star-trail telescopes to measure astronomical seeing quality and structural vibrations before constructing major observatories. Their 1965 investigation published in the Publications of the Astronomical Society of the Pacific demonstrated that trail width and micro-fluctuations directly correlate with atmospheric turbulence, helping evaluate telescope mounts like the European Southern Observatory 3.6 m telescope [3].
Astronomical site testing proved that atmospheric seeing conditions alter trail sharpness. Steady air produces crisp celestial tracks, whereas turbulence blurs photographic plates [3].
Orbital Views and Photographing Star Trails from Space
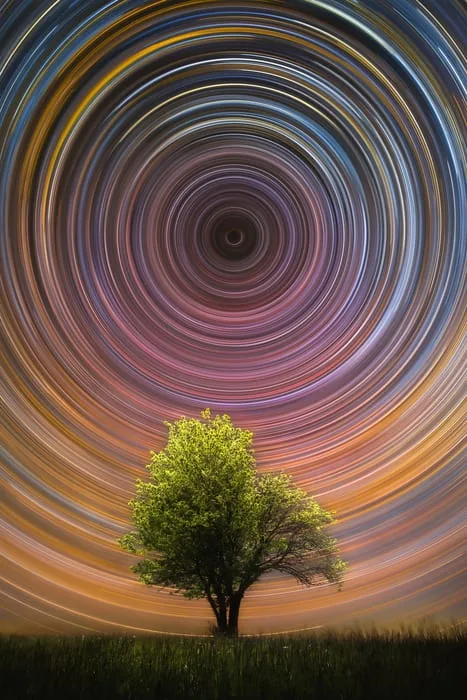
Astronauts aboard orbital platforms capture spectacular celestial perspectives unavailable from the planetary surface. On Sept. 20, 2026, NASA astronaut Anil Menon recorded a remarkable long-duration composite from the International Space Station as the laboratory orbited 258 miles above the Banda Sea. His photograph shows brilliant celestial arcs stretching above the curvature of the Earth, contrasted against the glowing blue lights of marine fishing fleets and golden clusters of Indonesian cities below. Orbiting at five miles per second transforms celestial streaks into dramatic compound trajectories shaped by both planetary spin and spacecraft velocity [1].
American astronaut Don Pettit refined spaceflight astrophotography between April and June 2012 while operating aboard the International Space Station. Pettit documented that modern digital sensors accumulate severe electronic noise and hot pixels when exposures exceed thirty seconds in microgravity. Don Pettit documented this in 2012. To overcome these thermal restrictions, he adopted terrestrial stacking strategies, capturing hundreds of consecutive 30-second frames and merging them digitally into continuous 10-to-15-minute equivalent composites. His orbital imagery displays near-vertical star streaks rising above the curved atmosphere due to orbital inclination [3].
Planetary robotic missions have expanded star trail documentation beyond Earth’s biosphere. NASA’s Spirit rover recorded star trails on Mars during Sol 643 while conducting an automated search for extraterrestrial meteors. Because the rover’s engineering cameras were restricted to maximum exposure durations of 60 seconds, the Martian trails appeared as broken dashed streaks rather than unbroken lines. The Spirit rover recorded dashed tracks. Beyond low Earth orbit, robotic platforms on extraterrestrial surfaces have documented similar celestial mechanics, mirroring missions dedicated to exploring a Martian day across alien landscapes [3].
Digital Software for Frame Stacking and Blending
Modern astrophotography relies almost universally on post-processing software to composite sequential exposures into seamless celestial paths. Prince Berkoh outlines a direct stacking workflow inside Adobe Photoshop: photographers navigate to the File menu, select Scripts, and click Load Files into Stack. After loading raw frames into independent layers, selecting all layers and switching the blend mode to Lighten blend mode renders the composite trail. The Lighten algorithm preserves the highest luminosity value from stellar arcs while discarding darker sky noise. Merging layers consolidates hundreds of gigabytes into a workable master file [4].
Dedicated freeware applications offer specialized capabilities designed specifically for stellar blending. Software programs such as Startrails.exe and StarStaX execute automated image stacking while offering algorithmic gap-filling features (a specialized algorithm that bridges missing pixels between consecutive frames) that smooth over brief shutter pauses [2]. In StarStaX, astrophotographers can also generate comet tail effects where individual trails taper smoothly across time. Hardware handling demands substantial computational performance; BBC Sky at Night Magazine recommends at least 16GB of desktop RAM for batch processing 80 to 200 high-resolution RAW images without system slowdowns. Simon Waldram recommends raw capture [8].
Mobile astrophotography tools have also emerged, enabling field previews and automated mobile stacking. The Star Trails application for Android composites RAW captures from device folders, with reviewers like Ayush Tandon noting workarounds to process over 100 frames from DCIM directories [7]. In the field, Peter Zelinka highlights that a 32 GB SanDisk memory card holds roughly 1,000 uncompressed 14-bit RAW files at 24 megapixels, whereas a Nikon D850 requires 128GB media cards to avoid buffer bottlenecks during multi-hour shoots. Choosing Class 10 or UHS Class 3 cards guarantees rapid buffer clearance throughout the night [5].
- PRESS RELEASE NASA HQ Web Team. (2026). Star Trails. NASA. [Article Link]
- ONLINE NEWS McClure, B. (2026). What Are Star Trails, and How Do I Photograph Them? EarthSky. [Article Link]
- WEBSITE Wikimedia Foundation, Inc. (2011). Star Trail. Wikipedia. [Article Link]
- ONLINE NEWS Berkoh, P. (2022). Star Trails Photography: Full Guide and Step by Step Tutorial. Capture the Atlas. [Article Link]
- WEBSITE Zelinka, P. (2013). Star Trails Tutorial. Peter Zelinka Photography. [Article Link]
- WEBSITE StarCircleAcademy.com LLC. (2013). Star Trails. StarCircleAcademy. [Article Link]
- WEBSITE GooglePlay. (2020). Star Trails: Android Application. Google Play Store. [Article Link]
- ONLINE NEWS Carter, J., & Dyson, L. (2021). How to Photograph Star Trails. BBC Sky at Night Magazine. [Article Link]
APA 7: TWs Editor. (2026). Earth Rotation Guides Star Trails Photography Across Night Skies. PerEXP Teamworks.


